If you’re preparing for cabinet painting in Binghamton NY, the most important part of the process is getting the steps for sanding cabinets right. Sanding may not seem exciting, but it’s the difference between cabinets that look professionally finished and ones that peel or chip within months. Rushing through this step can leave you with rough edges, uneven paint, or a surface that just doesn’t look right.
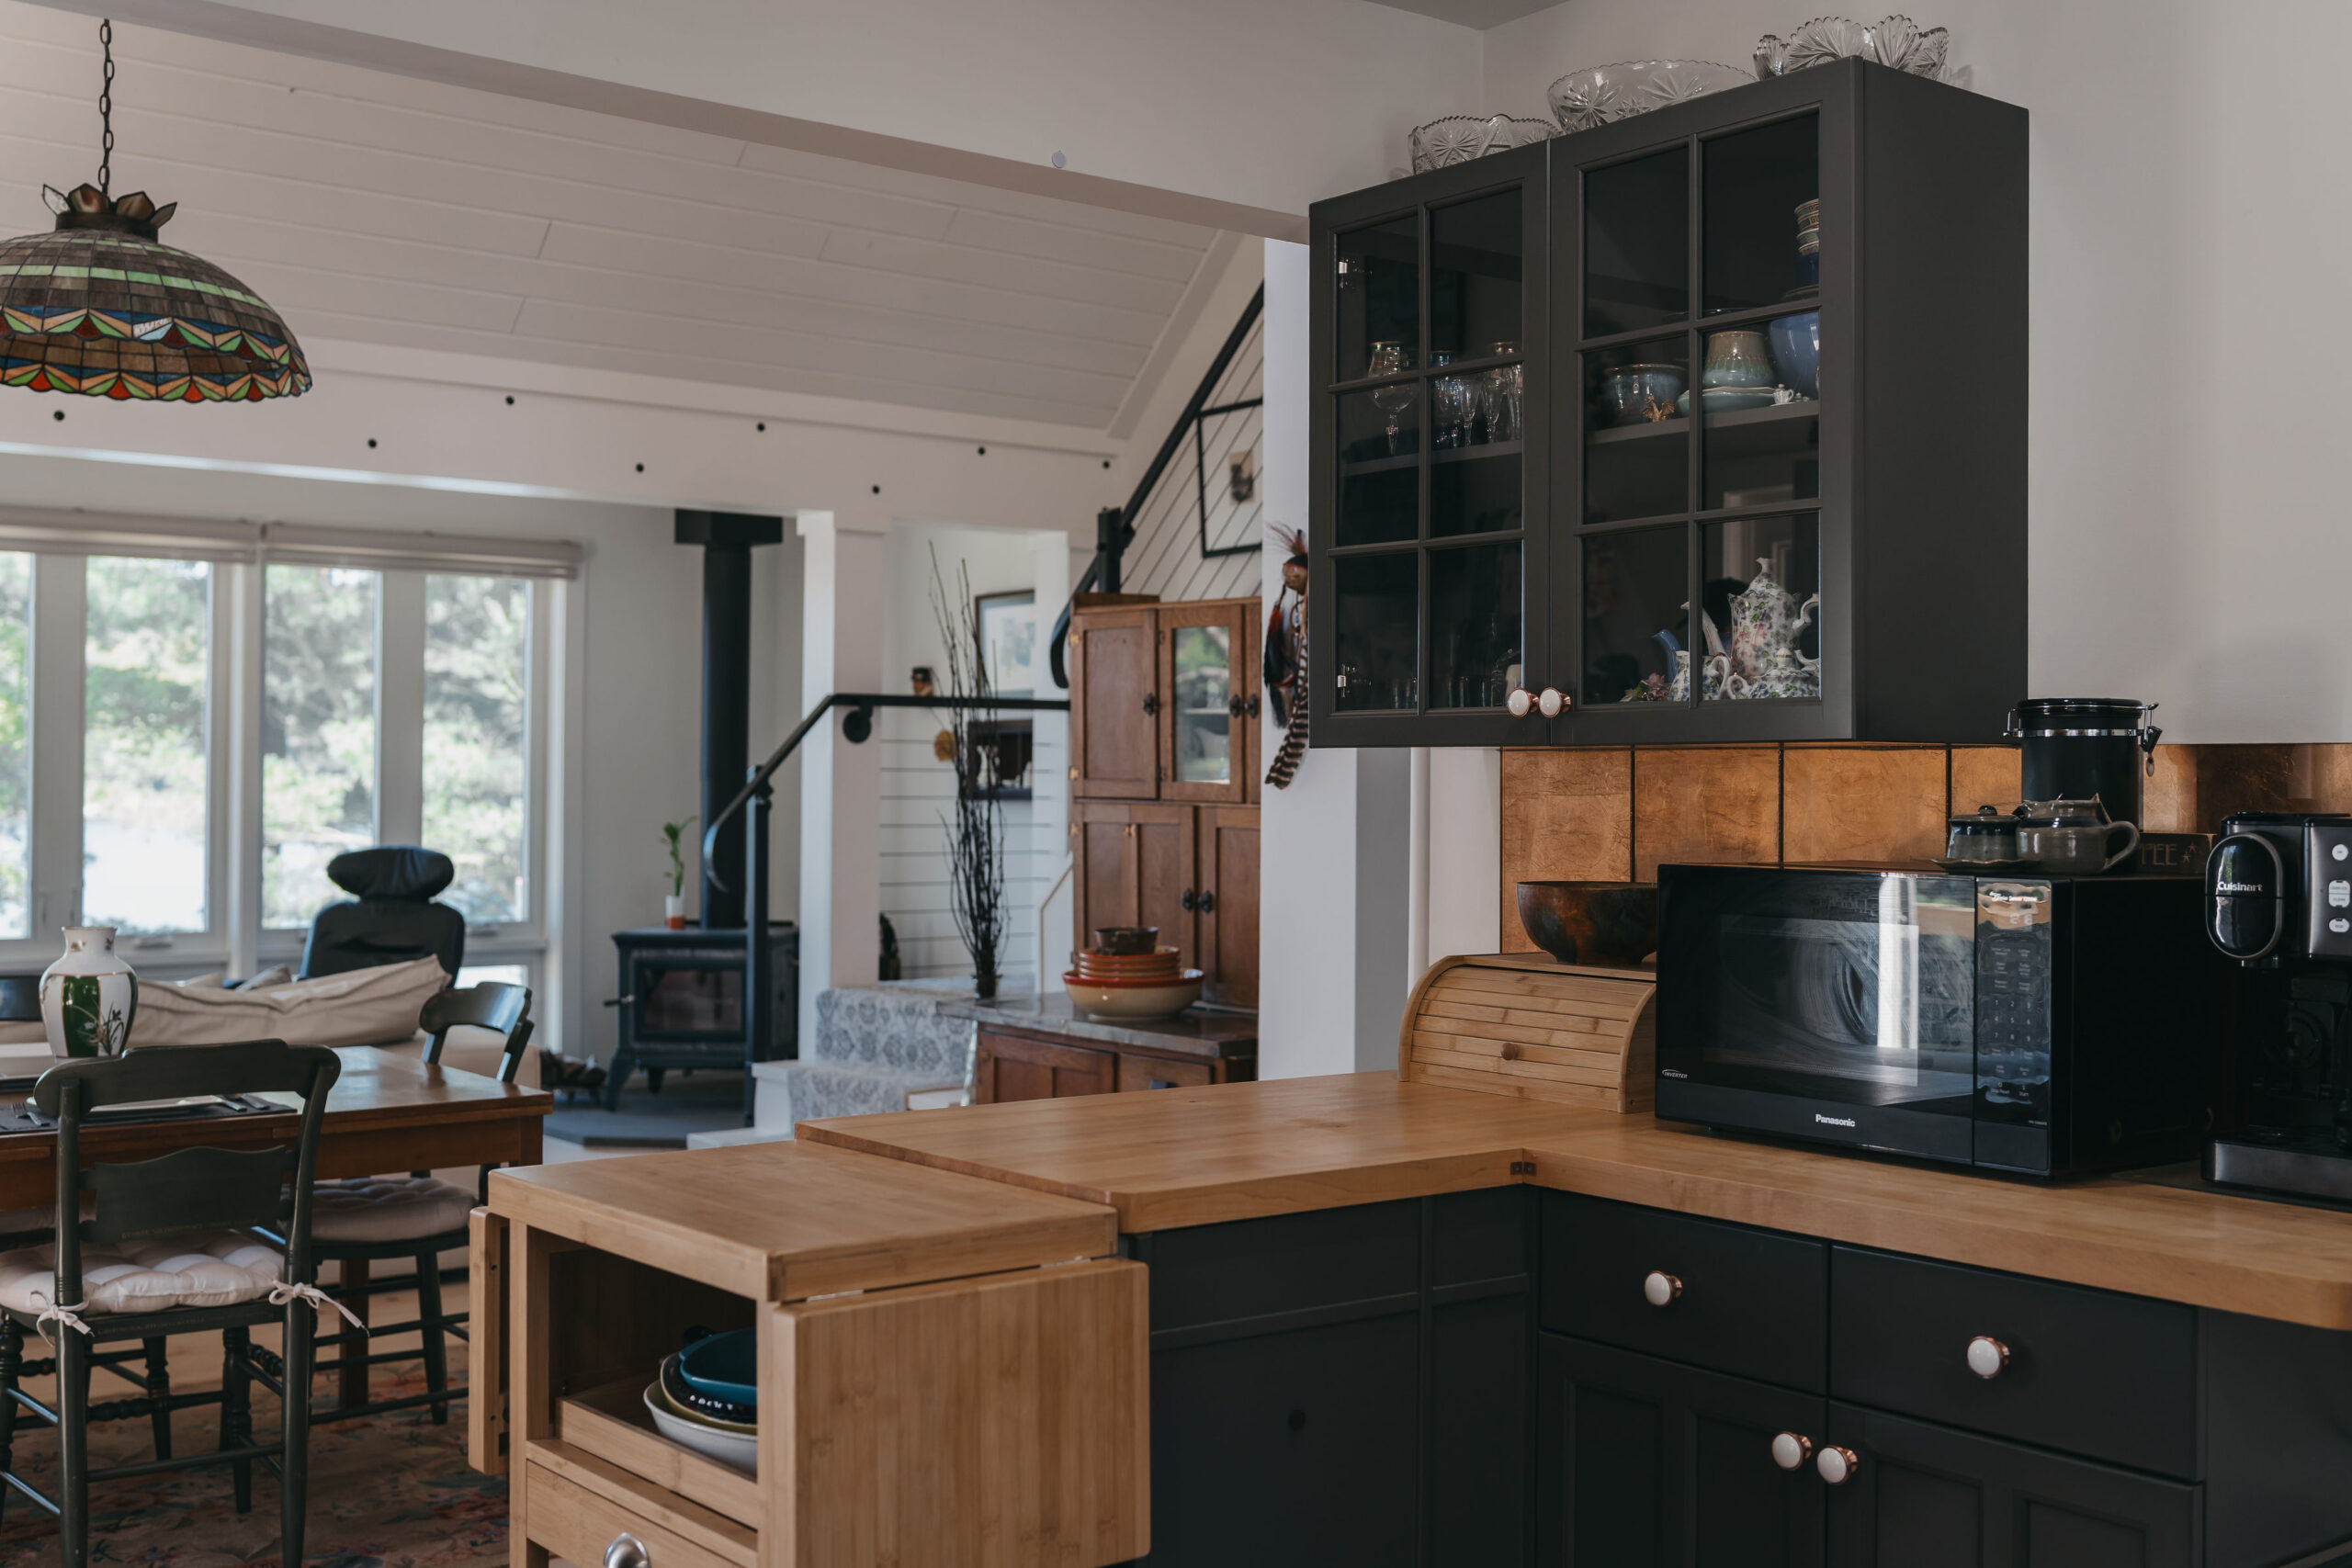
A client of mine learned this the hard way. She was excited to repaint her kitchen cabinets and decided that sanding was “optional.” A few weeks later, the paint started peeling near the handles. Every time she opened a cabinet, little chips of paint would flake off onto the counters. She ended up sanding everything down and starting over. Don’t make the same mistake! Follow these seven steps to get a smooth, long-lasting finish.
Key Takeaways
7 Steps for Sanding Cabinets
Step 1: Take Off Doors, Drawers, and Hardware
Leaving cabinet doors on while sanding and painting can make the process frustrating. Removing the doors, drawers, and all hardware gives you easier access and leads to a cleaner, more even finish.
Here’s a quick trick to save time later: Label each door and drawer with painter’s tape so you know exactly where everything goes when it’s time to reassemble.
Step 2: Clean Cabinets Before Sanding
Before you grab that sandpaper, your cabinets need a thorough cleaning. Over time, kitchen cabinets collect grease, dust, and grime—especially near the stove. Sanding over a greasy surface can clog your sandpaper and keep paint from sticking properly.
A simple mix of warm water and dish soap will work, but if you’re dealing with heavy buildup, a degreaser or a mix of vinegar and baking soda can help. Once everything is clean, let the surfaces dry completely before moving on.
Step 3: Pick the Right Sandpaper Grit
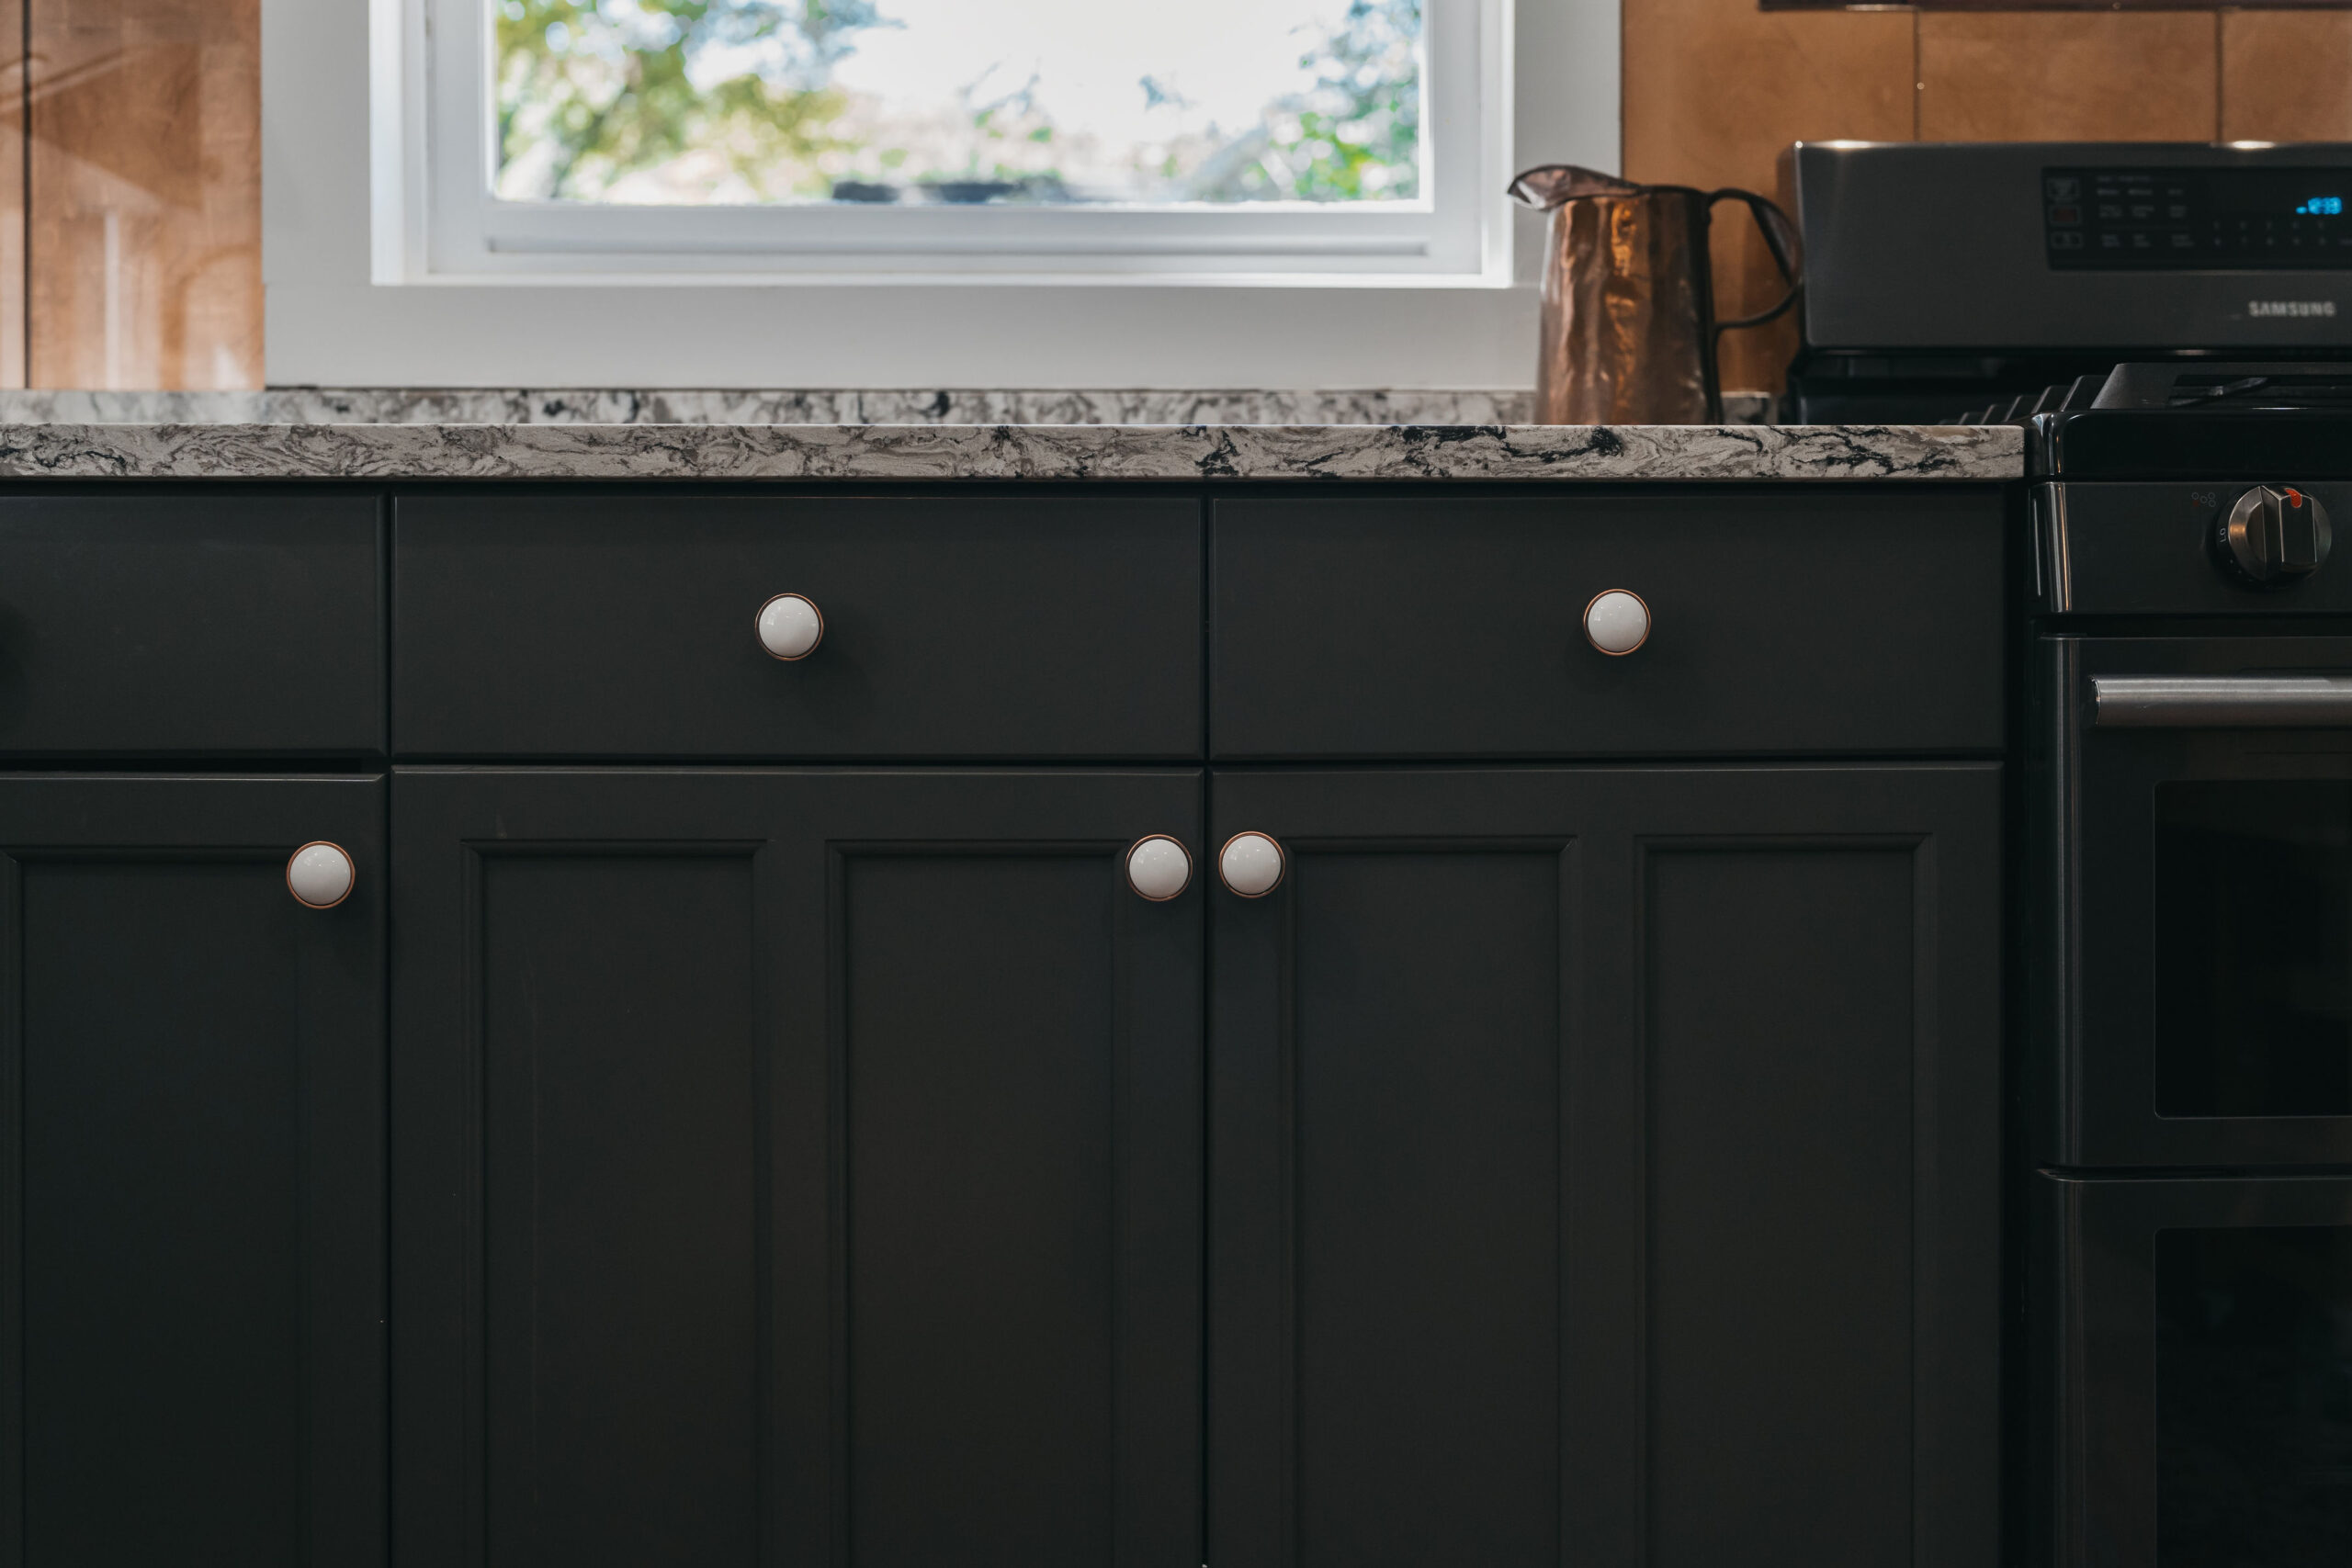
Not all sandpaper is the same, and using the wrong grit can make sanding harder than it needs to be. Here’s a quick guide to choosing the right sandpaper:
| Grits | Purpose |
|---|---|
|
60-80 grit |
Best for removing thick old paint or heavy varnish. |
|
100-120 grit |
Smooths out rough areas and prepares glossy surfaces for paint. |
|
150-180 grit |
Helps eliminate small imperfections and prepares the surface for primer. |
|
220 grit |
Creates a finely polished surface, ready for paint. |
|
320 grit |
Perfect for sanding between coats of primer or paint for a flawless finish. |
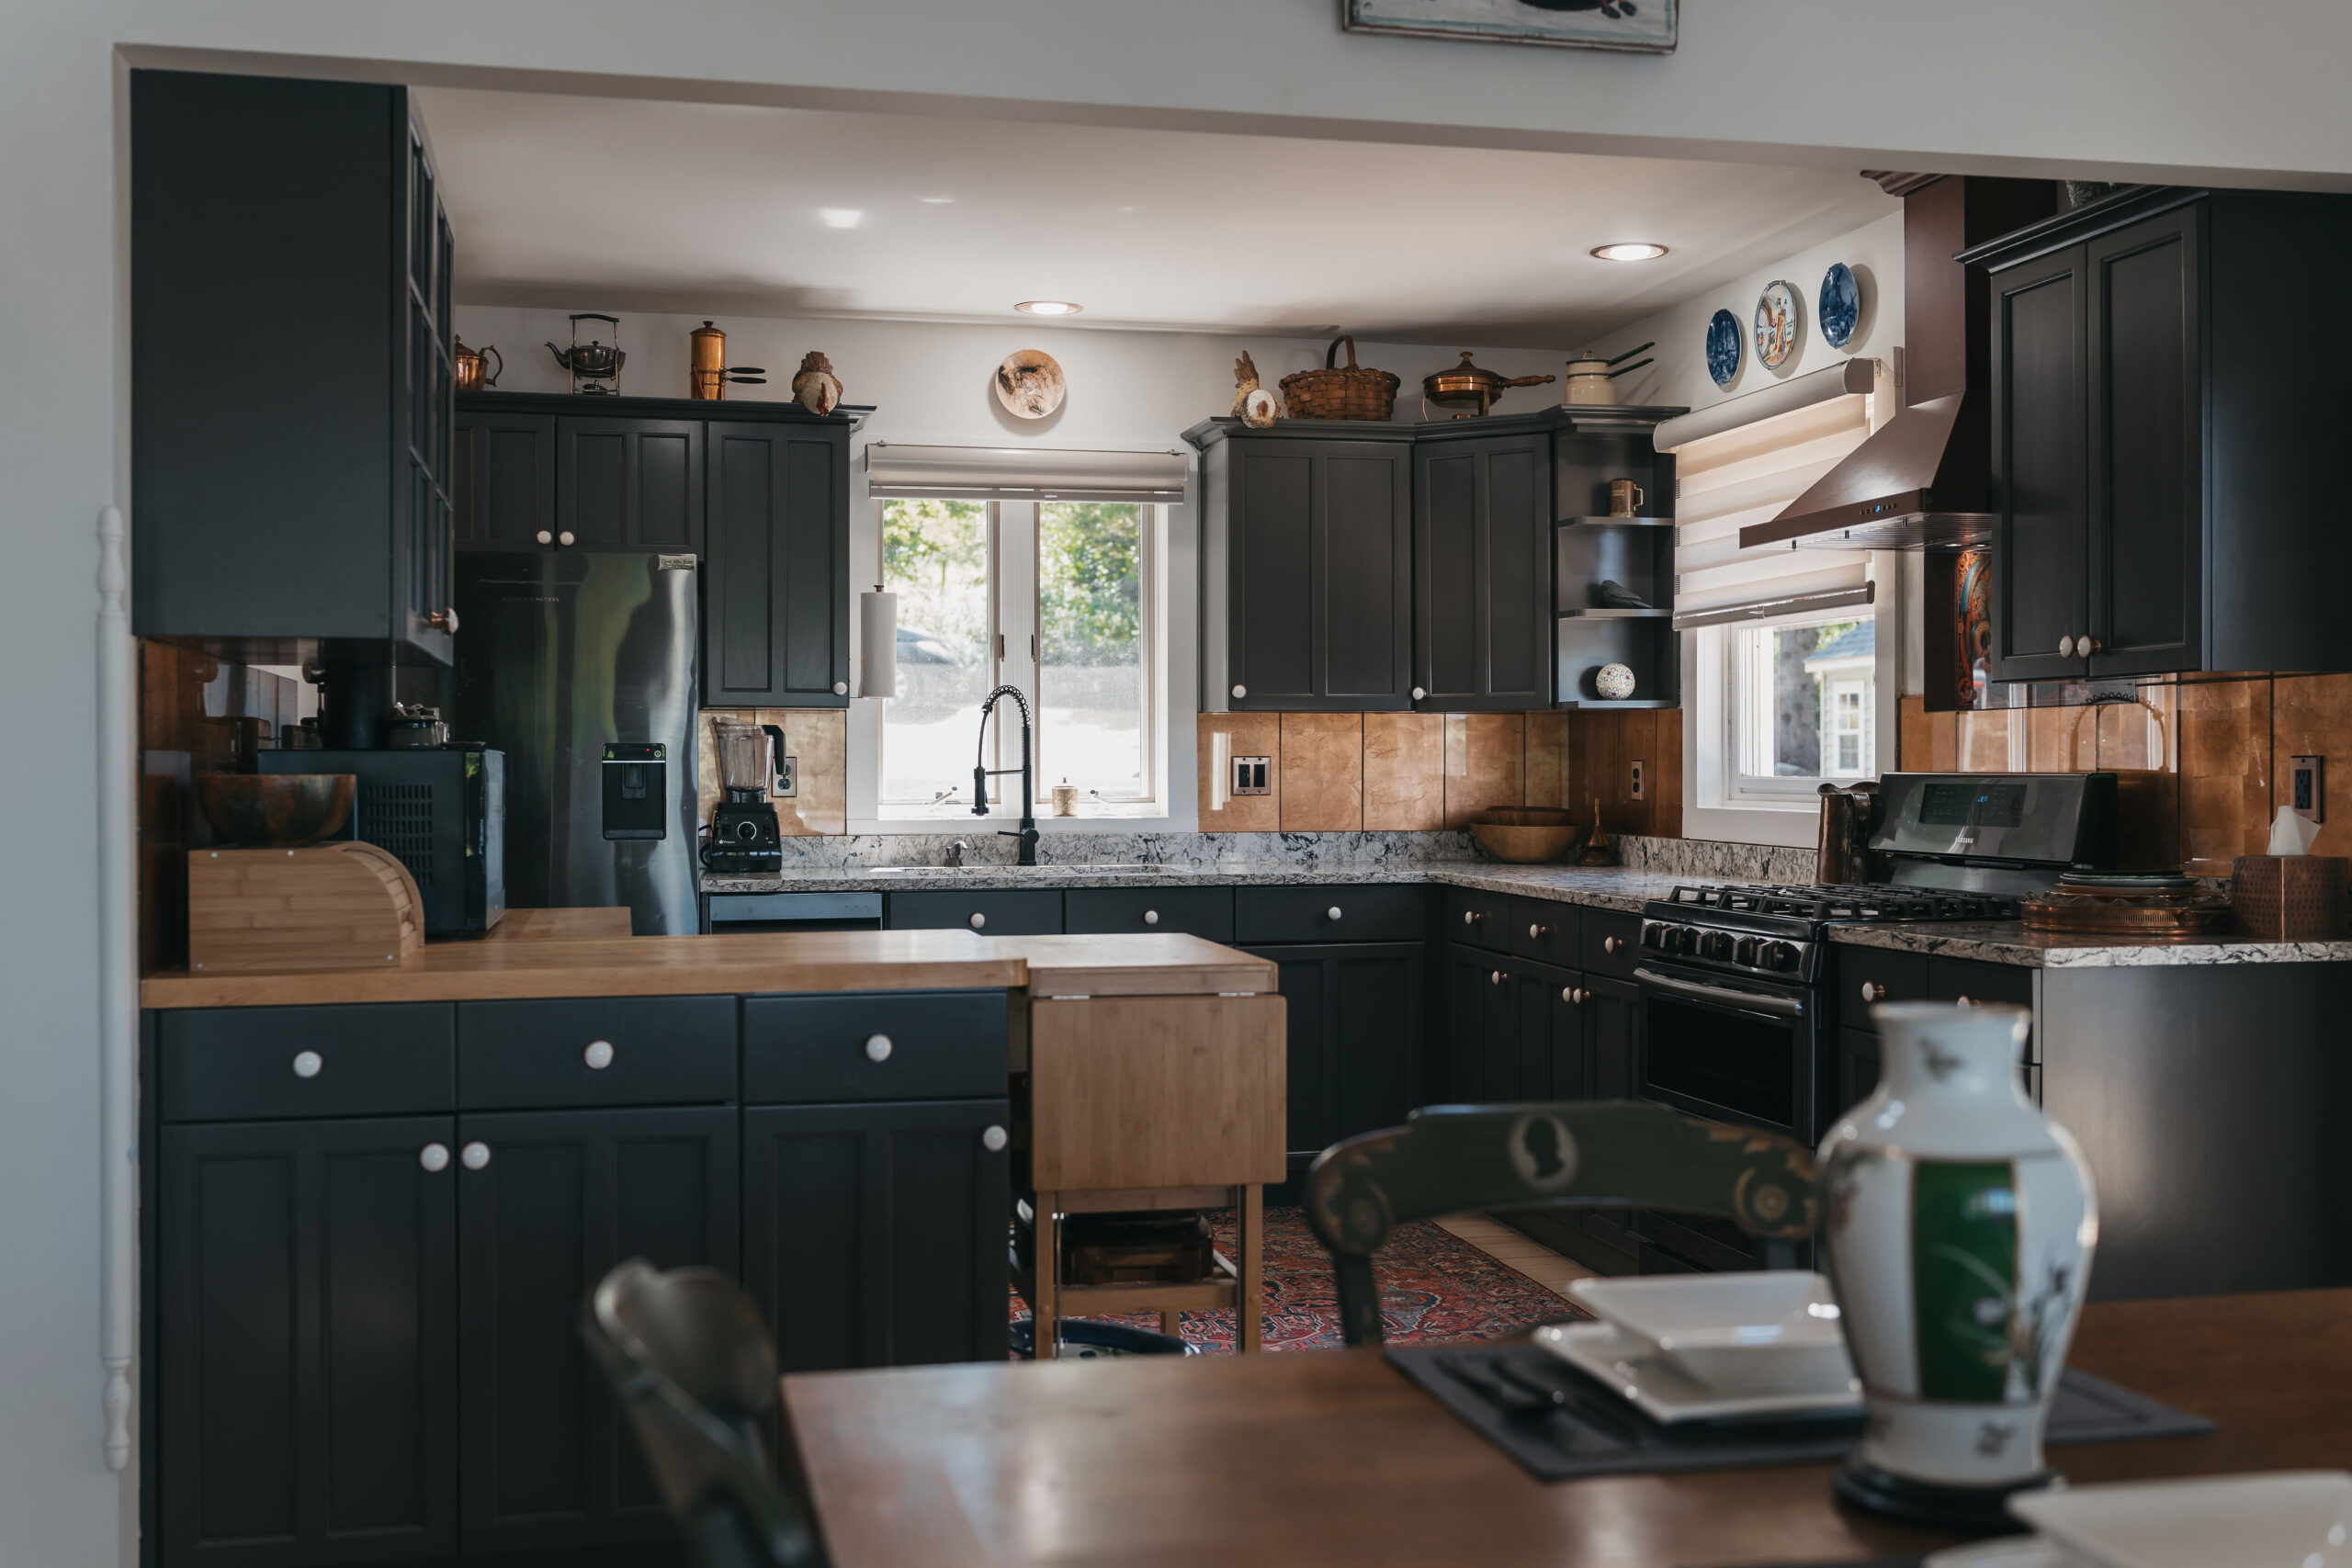
If your cabinets have detailed edges, a sanding sponge can help get into tight corners. For large, flat surfaces, an orbital sander can make the job faster and easier.
Step 4: Sanding the Right Way
Sanding isn’t just about moving sandpaper back and forth. Always sand in the direction of the wood grain to prevent scratches that could show through the paint.
If your cabinets have multiple layers of old paint, using a heat gun before sanding can help loosen things up, making it easier to remove. Just be careful—not all materials handle heat well. Work in sections and gradually move to finer grits for the best results.
Step 5: Remove All Sanding Dust
Dust from sanding can ruin your final paint job. Even tiny particles can leave bumps and imperfections. Before priming, make sure to:
Skipping this step can leave your paint feeling gritty and uneven.
Step 6: Apply a Primer for Stronger Adhesion
A high-quality primer makes a big difference in cabinet painting. It helps paint adhere better, prevents stains from bleeding through, and creates a smooth surface for even coverage. Look for a high-adhesion primer designed specifically for cabinets.
For the best results, use a sprayer or foam roller instead of a brush. Once the primer is fully dry, sand it lightly with 320-grit sandpaper to create the perfect surface for painting.
Step 7: Lightly Sand Between Coats for a Flawless Finish
This step is often skipped, but it makes a huge difference in getting that pro-quality finish. Lightly sanding between coats of primer and paint removes small imperfections and helps the layers bond together better.
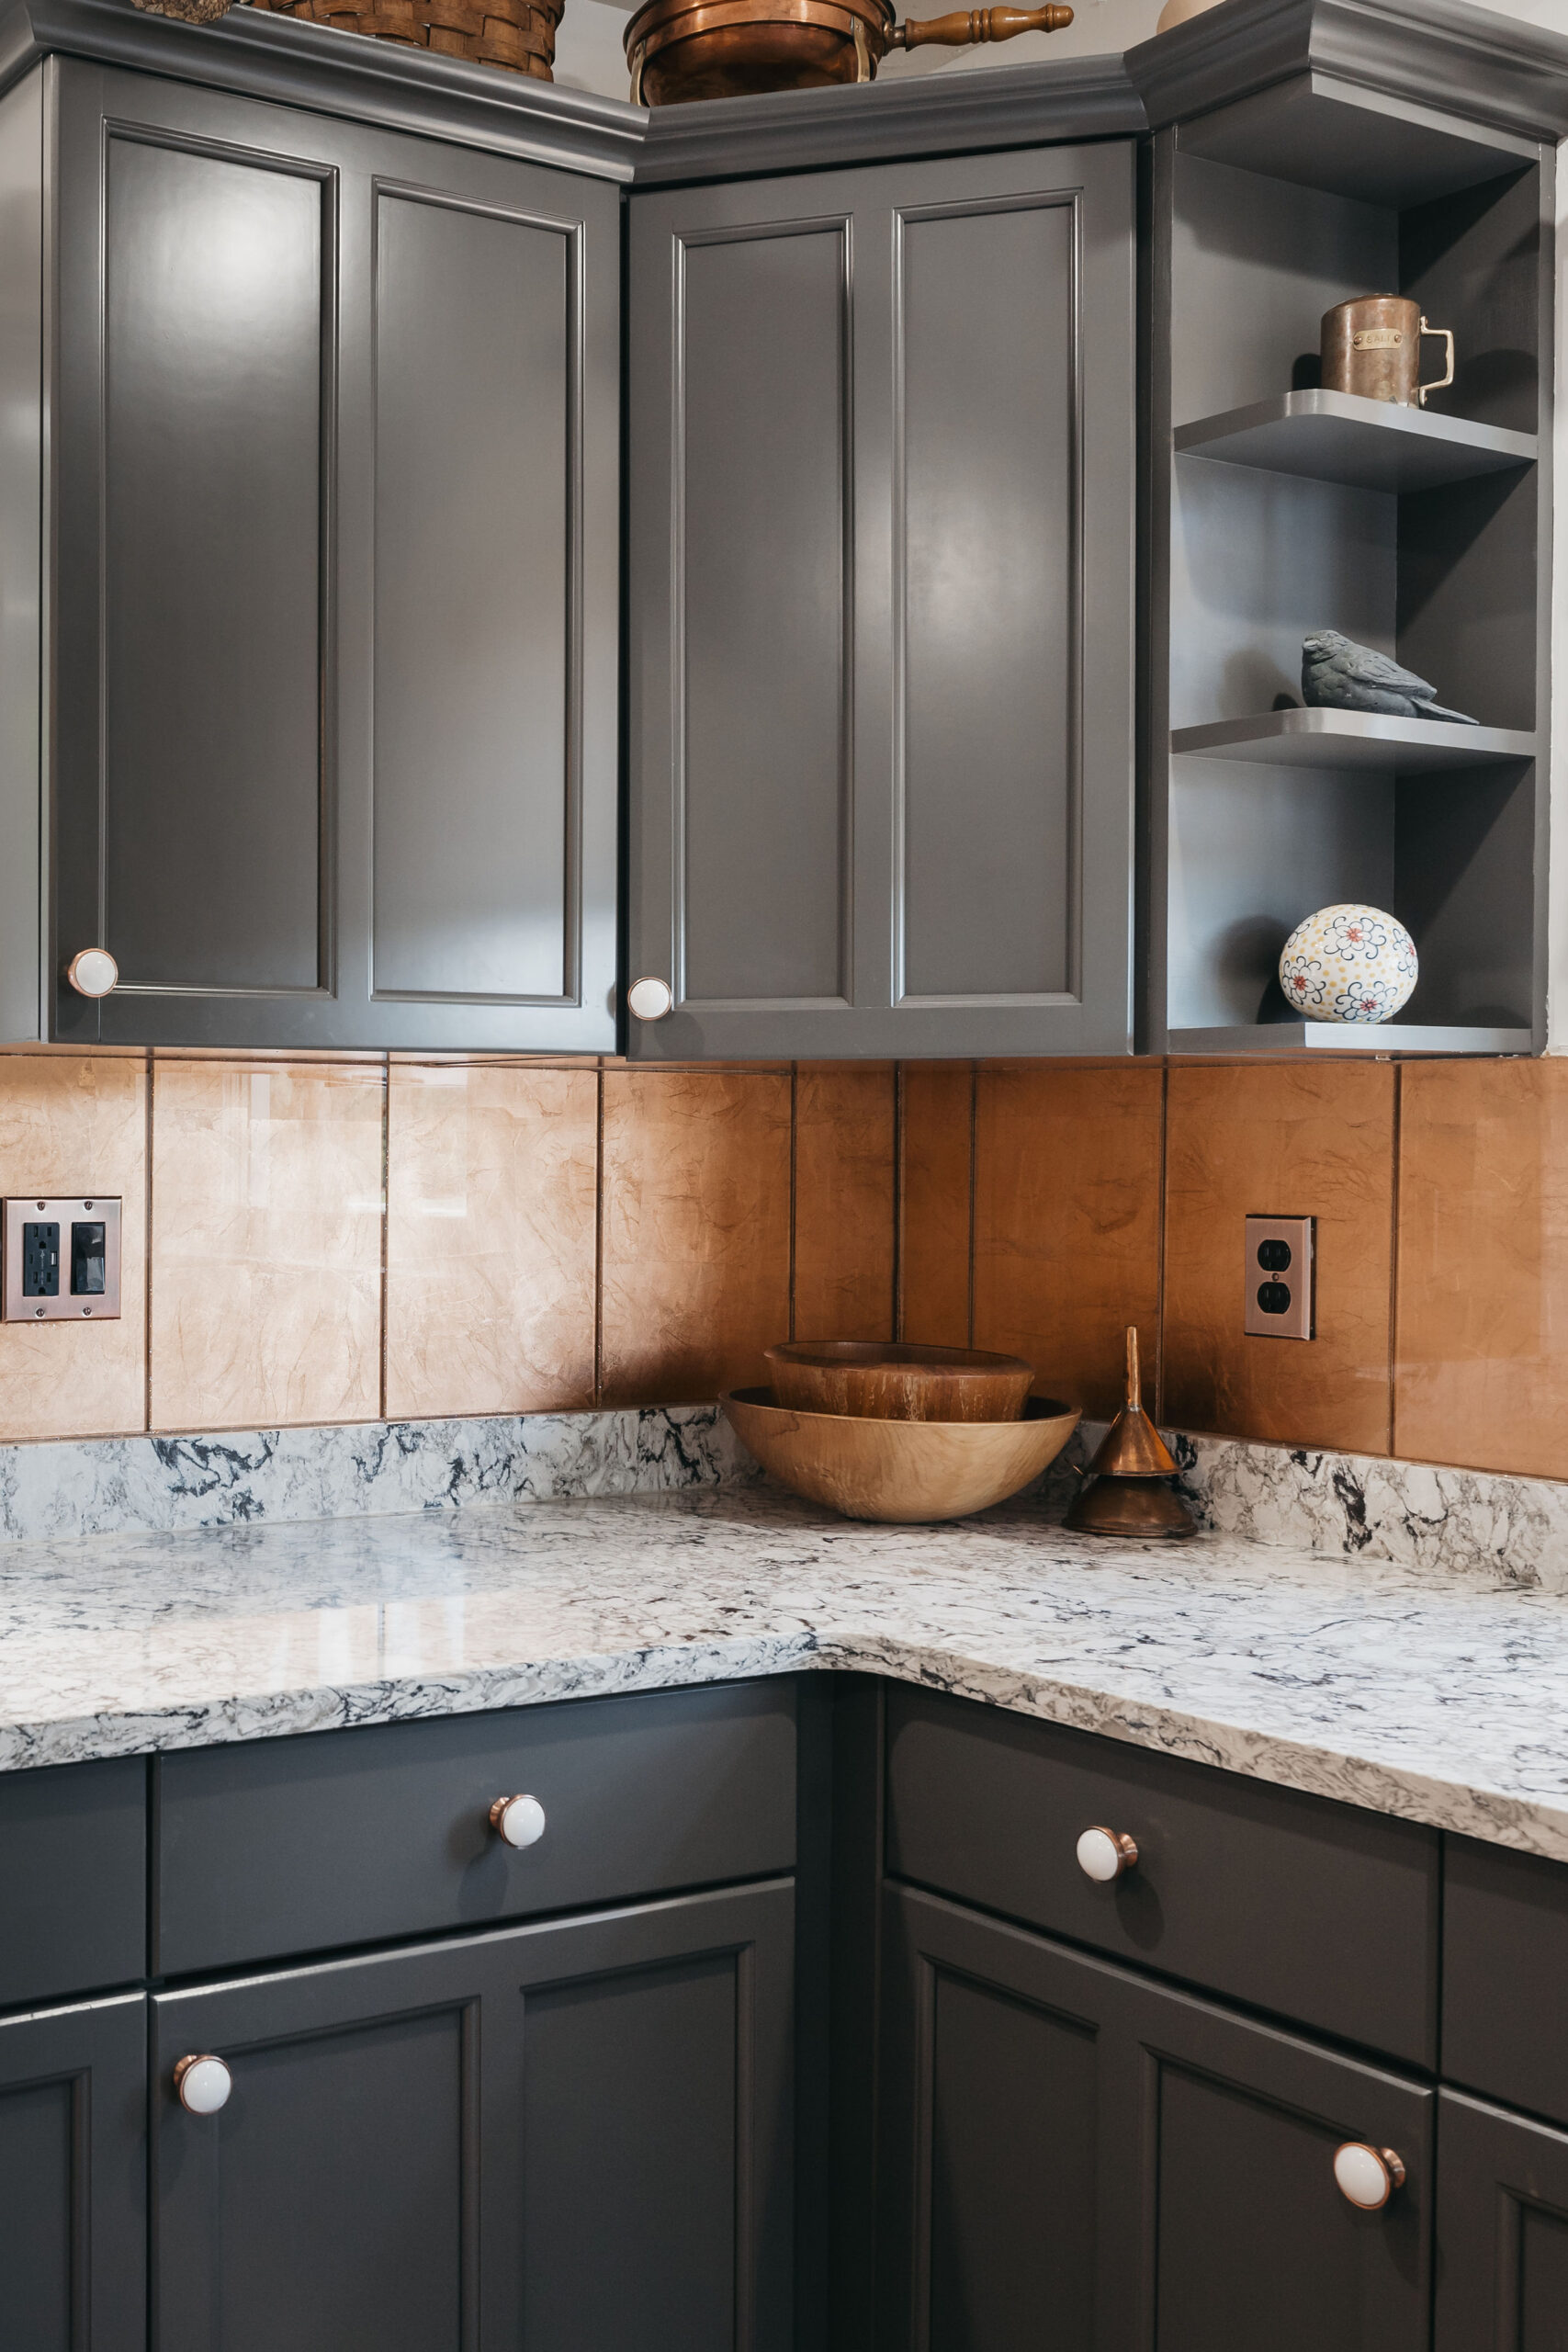
Use fine 320-grit sandpaper or a sanding sponge, then wipe away the dust before applying another coat. Taking this extra step ensures that your cabinets have that polished, factory-finish look.
Why Sanding Cabinets Properly Matters
Rushing through the steps for sanding cabinets or skipping steps can lead to peeling paint, streaks, and a rough finish. Taking the time to do it right ensures a smooth, professional-quality look that lasts.
If sanding and painting sound like too much work, hiring a cabinet painter can save time and guarantee flawless results.
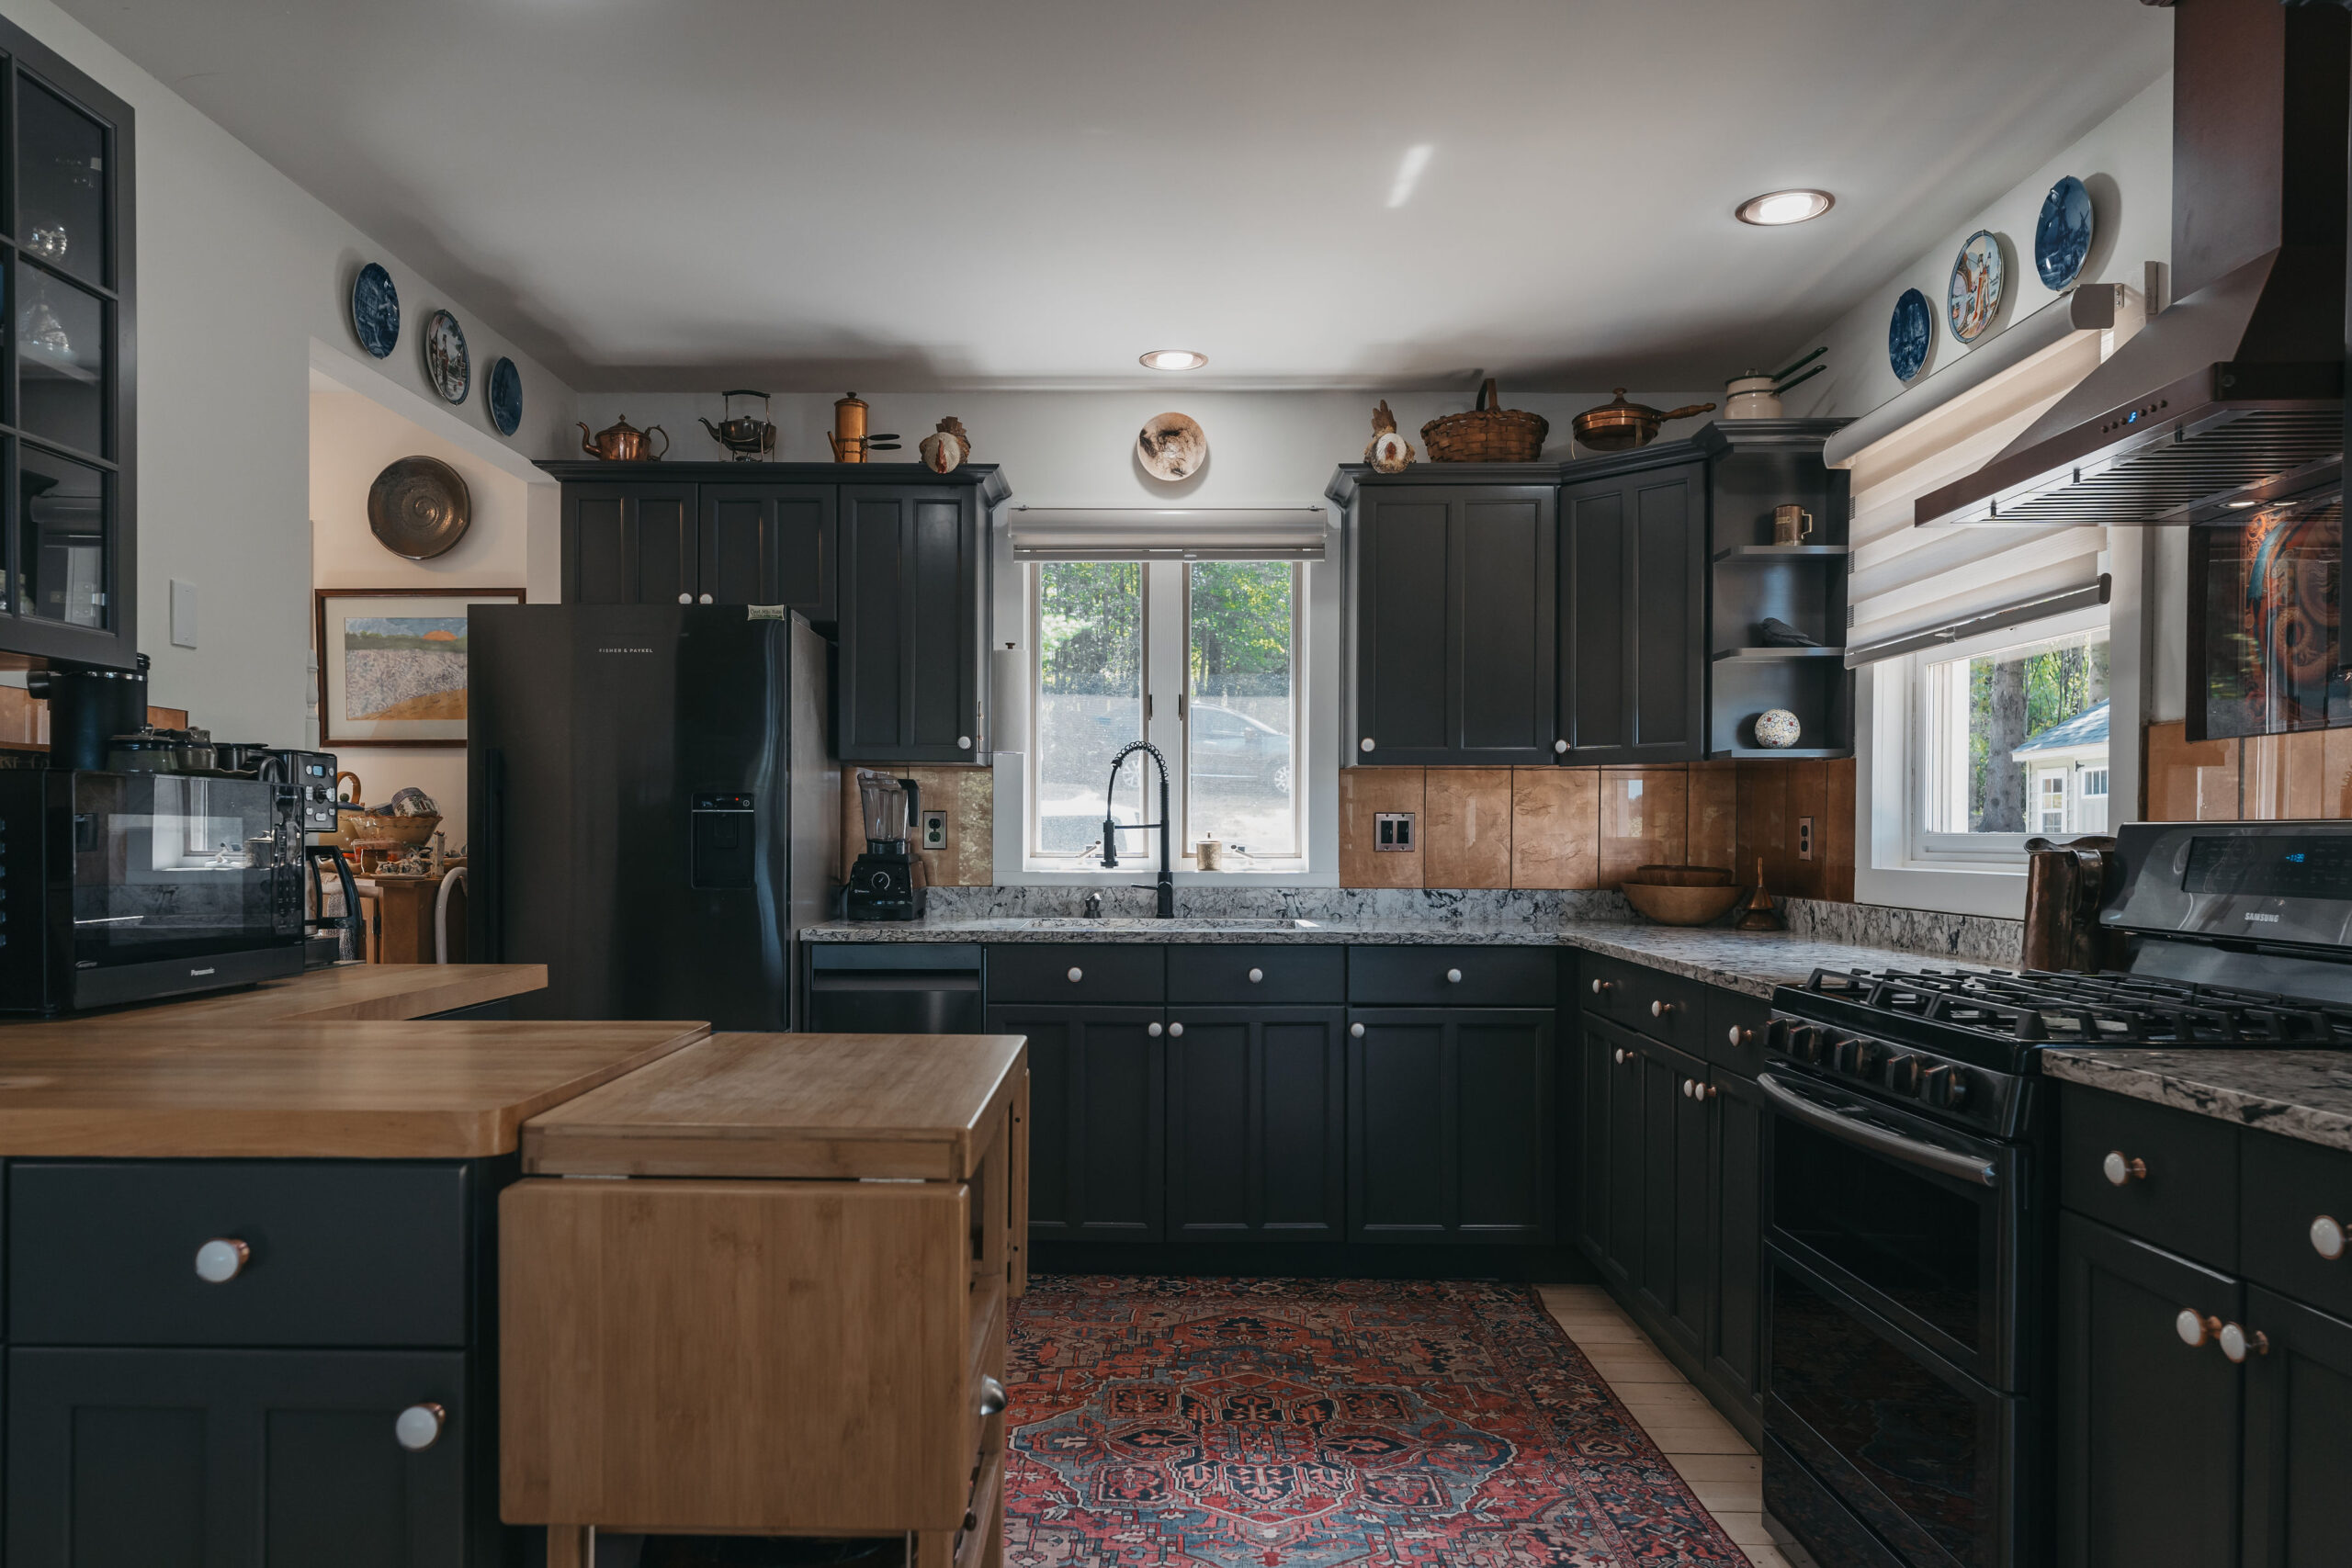
Brushes Over Broome LLC: Your Local Cabinet Painting Experts in Binghamton NY
Sanding and painting cabinets takes patience and attention to detail, but you don’t have to do it alone. If you want expert results without the hassle, the professionals at Brushes Over Broome LLC are here to help.
We specialize in cabinet painting in Binghamton NY, delivering smooth, long-lasting finishes with precision and care. Whether you’re in Vestal, Endicott, or Johnson City, we ensure your cabinets look amazing and last for years to come.
Call Brushes Over Broome LLC today at (607) 524-5590 for a FREE estimate, and let’s make your cabinets look brand new!


