How to paint trim is a common question many homeowners face when tackling interior house painting in Vestal, NY. Trim might seem like a small detail, but it can make all the difference in the overall aesthetic of a room. Well-painted trim can instantly improve a space by creating sharp, clean lines that contrast beautifully with the walls, while poorly painted trim can make the whole room feel unfinished. When I first painted the trim in my house, I didn’t realize how much effort it took to get it right. I rushed through the prep work, and the result was disappointing. Since then, I’ve learned the right techniques to ensure trim looks crisp and professional, and I’m excited to share those tips with you!
Whether you’re looking to tackle this task on your own or wondering whether to hire a professional house painter, this guide will help you navigate the painting trim process like a pro. The right tools, prep work, and paint will make all the difference in the end result.
Key Takeaways
The Importance of Trim in Your Home
At first, I didn’t think much about the trim in my house. I was more focused on the walls and the main decor. However, after seeing the impact freshly painted trim had on my own home, I realized how vital it truly is. Trim frames your room, highlighting the features that matter most, such as windows and doorways. Without well-painted trim, a room can look incomplete, no matter how beautiful the walls are. The attention to detail in the trim is what gives a room its polished, professional finish.
In the beginning, I didn’t give trim the attention it deserved. I remember when I quickly painted it, thinking the color and style of the walls would carry the room. I couldn’t have been more wrong. When I revisited the trim later, it was obvious I needed to redo the entire thing. Trim is just as important as the walls and needs to be done right for the space to feel cohesive.

Selecting the Right Tools and Materials
The key to achieving great trim results is starting with the right tools and materials. If you’re wondering how to paint trim without any mishaps, this section will help you gather what you need for a smooth process and professional finish.
Pro Tip: Investing in quality brushes and trim paint will drastically improve the final result, ensuring that your trim looks sharp and professional.
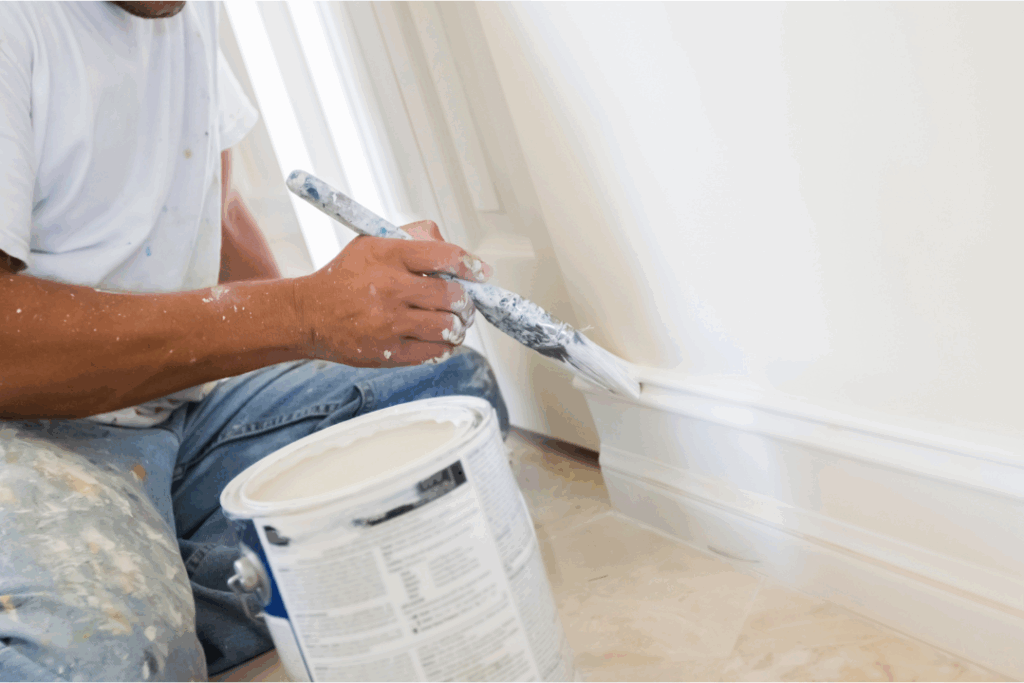
Step-by-Step Guide: How to Paint Trim Like a Pro
Once you have everything ready, follow these steps to paint trim like an expert.

Pro Tips for a Professional-Looking Finish
Even small adjustments can make a big difference in the final outcome. Here are a few expert tips for achieving the best results:
When it comes to how to paint trim without making a mess, it all comes down to preparation and using the right tools. Following the steps and tips outlined here will help you achieve a professional-looking finish.
However, if you don’t have the time or want to ensure the best results, hiring a professional house painter is always a smart choice.
Brushes Over Broome: Your Interior House Painter in Vestal, NY
At Brushes Over Broome, we specialize in interior house painting in Vestal, NY, and surrounding areas like Binghamton and Johnson City. We understand the importance of painting trim properly, and our team is dedicated to making sure your home looks amazing.
Why Choose Brushes Over Broome?
Ready to give your trim a fresh look? Call Brushes Over Broome today at 607-524-5590 for a FREE estimate. Let us help you make your trim stand out!