Hey there, busy homeowner! If you want to learn how to repair drywall before painting your next interior house in Vestal, NY, you’re in the right place. We get it—your home is your sanctuary, and keeping it looking pristine is a top priority. But when it comes to drywall repairs, you might feel stuck between taking on the task yourself or hiring a professional while avoiding a mess, unexpected costs, and the dreaded schedule disruptions.
Key Takeaways:
- Clean and prepare drywall surfaces thoroughly to ensure that repair materials and paint adhere properly, resulting in a smooth, professional finish.
- Identify and address small holes, cracks, and tears with appropriate tools and techniques for flawless interior house painting results.
- Sand repaired areas gently with fine-grit sandpaper to seamlessly blend with the surrounding wall before painting.
- Use a drywall-specific or high-build primer to ensure even paint absorption and prevent repaired spots from showing through.
- Consider hiring professionals like Brushes Over Broome for stress-free, high-quality drywall repair and interior house painting services.
Step 1: Clean the Surface – Start with a Fresh Slate
Before diving into any repairs, the first rule of thumb in how to repair drywall before painting is to ensure your walls are clean. Dust, dirt, and grease can prevent repair materials and paint from adhering properly, leading to more mess and frustration. Grab a sponge, mix some mild detergent with water, and wipe your walls well. Let them dry completely before moving on to the next step. Trust me, this little prep work ensures a smooth, professional-looking finish for your interior house painting project!
Step 2: Identify the Problem Areas – Know What You’re Dealing With
Now, let’s inspect your drywall for common issues. Small holes from picture nails, cracks near windows, or tears in high-traffic areas? Don’t worry; we’ve seen it all. Here’s a quick guide on how to repair drywall before painting:
- Small Holes: Fill these with a lightweight spackling compound using a putty knife. Smooth it out so it’s level with the surrounding wall.
- Larger Holes: For holes bigger than a nail puncture, use a self-adhesive patch or mesh tape before applying the compound. This will help prevent further cracking and keep your repair durable.
- Cracks: Widen the crack slightly with a utility knife to help the compound adhere better. Then, a thin layer of joint compound is applied, smoothing it carefully. Repeat as needed until you’ve got a seamless finish.
- Tears: Trim any loose edges, then use mesh tape and apply thin layers of joint compound, feathering the edges to blend with the wall.
Identifying and adequately addressing each problem area will save you headaches and ensure the best results for your interior house painting.
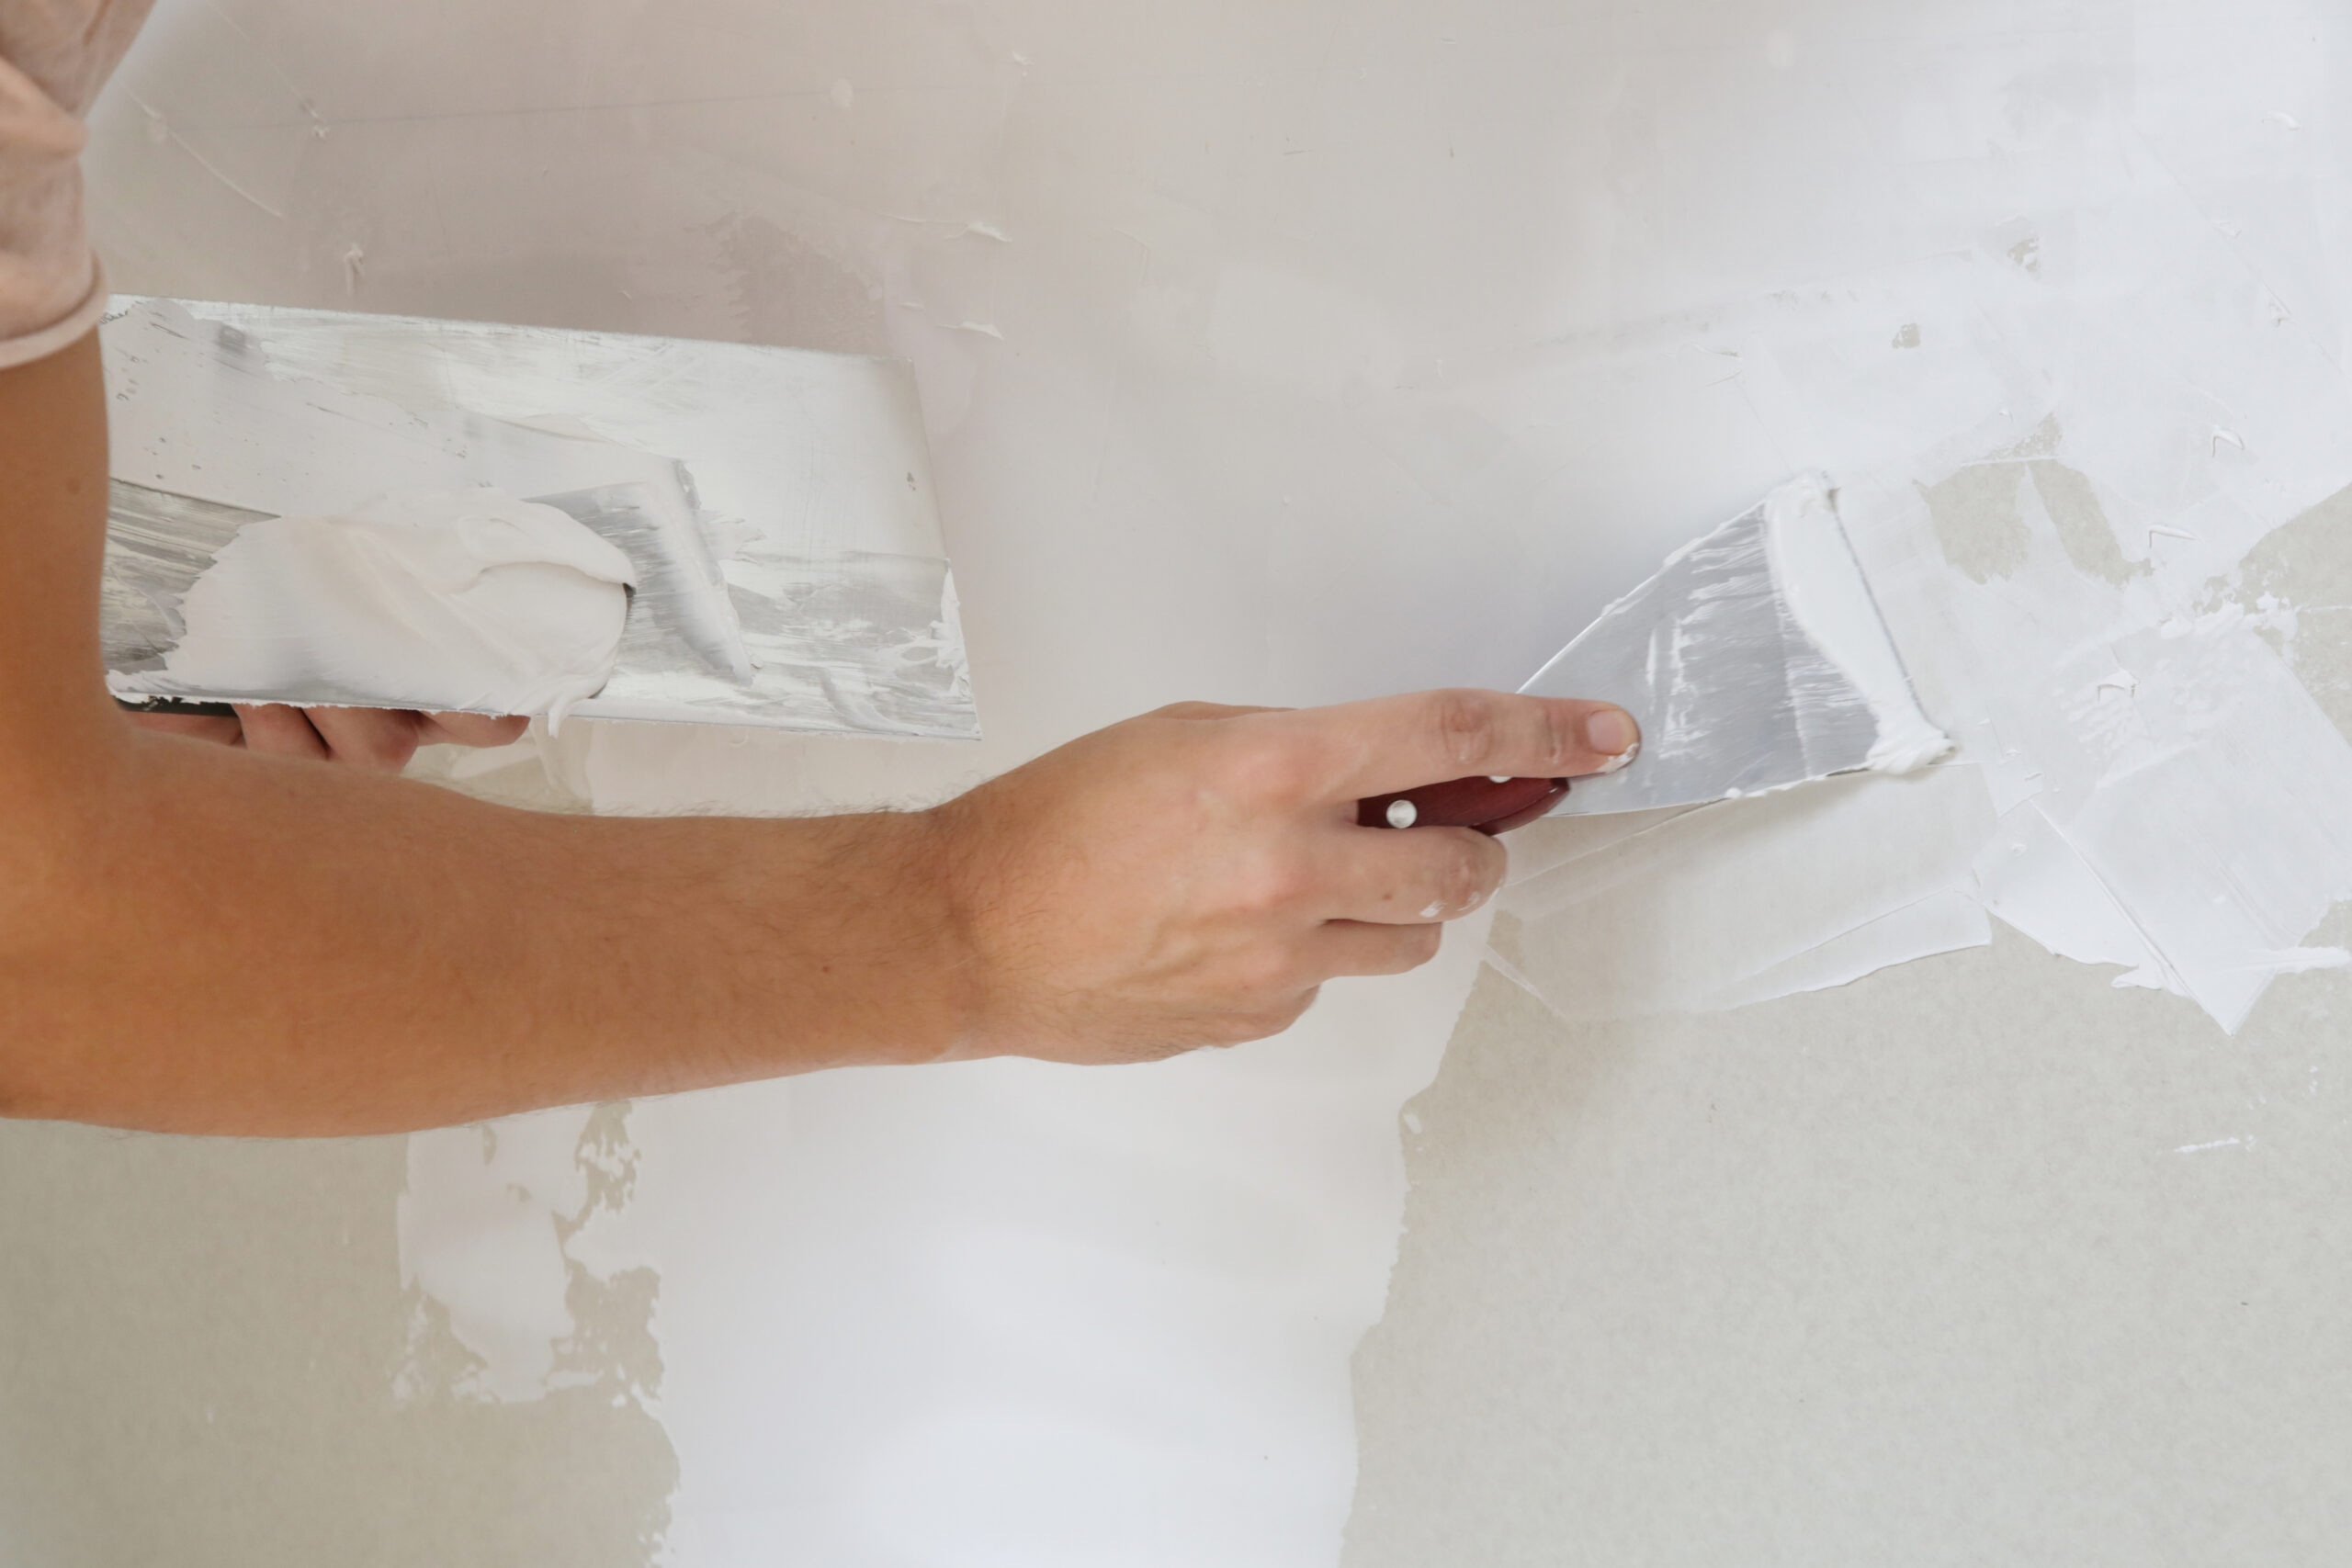
Step 3: Patch and Repair – The Nitty-Gritty Details
Have you got your materials ready? You’ll need a lightweight spackling compound, joint compound, self-adhesive mesh tape, a putty knife, and a sanding block. Here’s how to do it:
Patching Small Imperfections
- Clean the Area: Before patching, make sure the surrounding area is clean.
- Apply the Compound: Use your putty knife to fill small holes or dents with spackling compound, smoothing it to match the wall surface.
- Remove Excess: Wipe away any excess compound with a damp cloth.
Repairing Larger Damage
- Prepare the Area: Clean around the damage, removing any loose debris.
- Apply Mesh Tape: Place mesh tape over holes or tears to reinforce the repair.
- Cover with Compound: Apply a thin layer of joint compound over the tape, feathering the edges to blend seamlessly. Allow it to dry before adding additional layers, if needed.
These steps are vital to achieving a smooth wall ready for interior house painting.
Step 4: Sand the Repairs – Smooth It Out
Once everything is dry, it’s time to sand. Use fine-grit sandpaper and gently smooth the patches until they align with the surrounding wall. Be careful not to sand too hard—you want a smooth finish, not more damage! Remember, a well-sanded wall is crucial in repairing drywall before painting for any interior house painting project.
Step 5: Inspect and Touch Up – Perfect the Finish
After sanding, inspect the patched areas. Are they smooth and even? If not, apply another thin layer of joint compound and sand again. It might feel like extra work, but these details make your walls look flawless for your interior house painting.
Step 6: Prime the Repaired Areas – Set the Stage for Perfection
Priming is crucial! Don’t skip this step or risk your paint job looking patchy. A drywall-specific or high-build primer will ensure the repaired spots don’t show through and that the paint absorbs evenly. Remember, a little primer goes a long way in achieving that professional look for your interior house painting in Vestal, NY.
Step 7: Paint the Wall – The Grand Finale
Now that your walls are repaired, primed, and ready to go, it’s time for the fun part: painting! Choose a high-quality paint that suits your style, and enjoy your renewed space’s fresh, polished look. You’ve earned it!
How to Repair Drywall Before Painting: When DIY Isn’t Enough – Call in the Pros
Sometimes, life is too busy for DIY projects, and that’s where the experts come in. Here’s where Brushes Over Broome steps into the picture, offering the perfect solution for homeowners who want high-quality drywall repairs and painting services without stress.
Achieve the Perfect Finish with Ease
Repairing drywall might seem daunting, but with these tips on how to repair drywall before painting, you can confidently tackle the job—or leave it to the professionals at Brushes Over Broome for a truly worry-free experience. Remember, a little preparation goes a long way in making your interior house painting look stunning and ensuring it lasts.
Ready to restore your walls to their former glory? Contact Brushes Over Broome today for expert interior house painting services in Binghamton, Vestal, Johnson City, and the surrounding areas. Call us at 607-524-5590 for a FREE estimate, and let us handle the rest. Your home will thank you!